While do-it-yourself projects can be fun and fulfilling, there is always a potential for personal injury or property damage. We strongly suggest that any project beyond your abilities be left to licensed professionals such as electricians, plumbers, and carpenters. Any action you take upon the information on this website is strictly at your own risk, and we assume no responsibility or liability for the contents of this article.
How to Refurbish an Old Deck

In the summer, the deck is probably the most frequented and well-used part of your home. Naturally, with all the barbeques, kids, family, pets, and sunset cocktails, it may start to look a little worn. Sun, water, and wind will also take its toll and cause the finish to peel, the boards to splinter, and the wood to rot.
The good news is that there is no need to tear it all up and start again. An old deck can be easily and inexpensively refurbished in just a few simple steps. And not only can refurbishing your old deck give it another lease on life, but you can also extend its life expectancy and make it look better than ever before by following the proper methods and using quality materials.
While this DIY project will take a weekend or two, it will be worth it when you have transformed your drab old deck into a beautiful, vibrant part of your home.
1. Repair

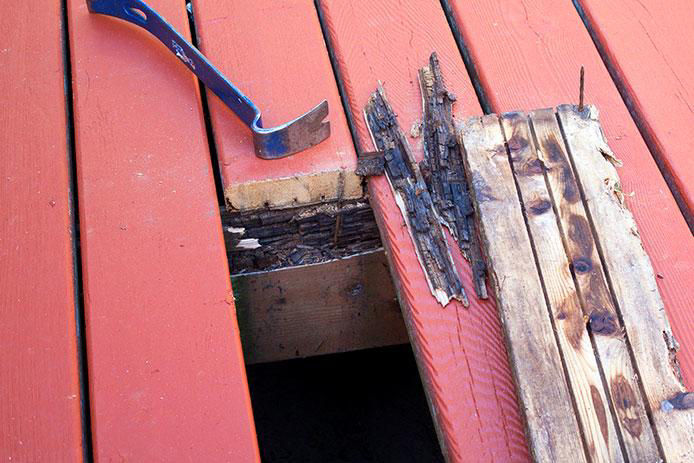
The first step in refurbishing your deck is to inspect it for any damage or rot. Take a generous amount of time doing this. As the old saying goes, one rotten apple can spoil the bunch. Because rot can spread to other boards or even into your home, be especially thorough while inspecting. If you can sink the tip of a screwdriver into the wood, you’ve likely got some rot. Be sure to check carefully around areas that are close to the ground or in the shade, as these places are more likely to decay. Rusted screws and metal fasteners allow extra moisture to accumulate inside the boards and encourage rotting, so they should also be checked Check for black streaks around screws; these may indicate water damage and rot. Also be sure to inspect your deck for loose screws, fasteners, and other metal bits. No one likes to snag a toe on an exposed piece of metal.
Use a pry bar to gently pop damaged boards out of place. Be sure to take out all fasteners first so you don’t damage adjacent boards. Replace the damaged boards with new boards to prevent rot and keep your deck safe. The more careful you are with your inspection and the more repairs you make, the longer your deck will last. Also, be sure to inspect floors and railings for cracked wood to prevent future splinters.
2. Clean

When your repairs are complete, the next step is to clean your deck. The cleaning process depends on what is on your deck already and what your refinishing goals are.
If there’s old paint or finish that’s chipping off the deck, remove it with a paint scraper. To clean a varnished or painted deck before staining it, first strip the paint or varnish off with a chemical stripper. Clean with a gentle setting on a power cleaner or a strong hose setting. Finally, sand the wood and apply the new stain finish.
If you’re painting the deck, there’s no need to use the chemical stripper. Simply clean, sand, and paint. If you are refurbishing a sealed or stained deck, clean it well.
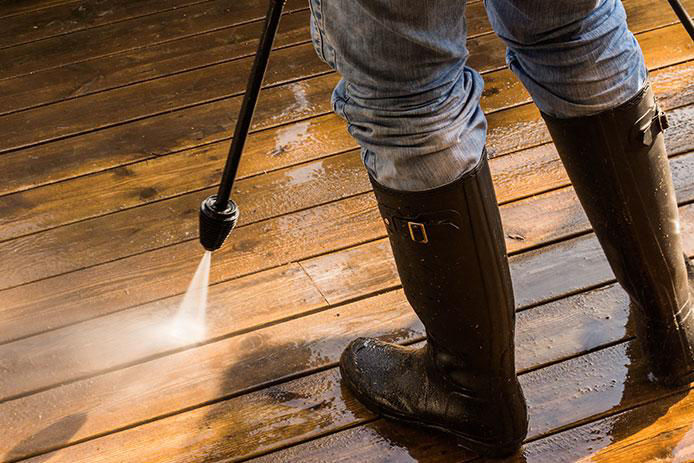
Clean your deck with a power cleaner on a gentle setting; a strong setting can damage softwood. Otherwise, use a deck cleaner and a strong bristle brush to wash the wood well before applying paint or stain. We recommend using an oxygen-based wood cleaner that will remove mildew stains and sun-induced graying while still cleaning off the dirt and grime.
Sanding a deck before refinishing is recommended for boards that are rough, splintering, or badly sun-damaged. Use a 60- or 80-grit sandpaper for boards and an 80- or 100-grit sandpaper for railings for the best results. While there is no need to clean the deck again after sanding, be sure to vacuum up or sweep away the dust that could prevent the seal or stain from going into the wood. After all that, your deck is ready to be finished!
3. Stain

Selecting a quality wood stain is important. We recommend an oil-based exterior semi-transparent stain for the best long-term results. Pigmented sealers provide extra protection from sun damage. A semi-transparent stain has enough pigmentation to protect the wood from the sun while still enhancing the wood grain of your deck. An opaque stain, such as paint, will hide wood grain and also protect the deck from sun damage.
While using a water-based sealer may be more convenient, an oil-based sealer will soak the wood fibers more thoroughly and last longer. Choosing a wood stain that penetrates the wood deeply will more effectively protect it. How a stain will look when it dries varies, so don’t rely completely on photos in brochures. We recommend buying a small sample of stain to test on your wood first before using it on the whole deck.
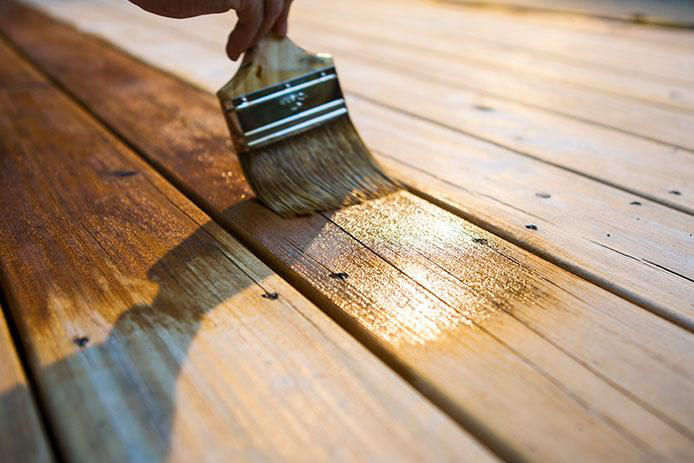
Use a natural bristle brush if you are working with an oil-based product and get ready to bring your new beautiful deck to life. To ensure that stain is absorbed, make sure your deck remains completely dry for at least two days before application.
Step four is to enjoy your new, beautiful deck! Following each of the above steps, taking adequate preparation, using quality materials, and practicing proper application techniques will give you a stunning deck for years to come. Light the barbeque, make a drink, and enjoy the well-earned fruits of your labor.